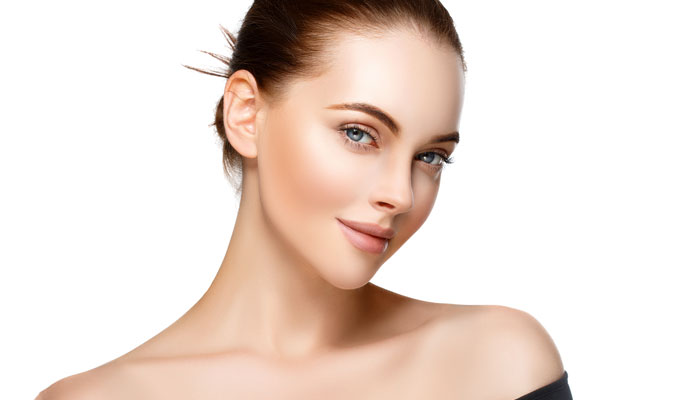
We get countless requests for readers to do a DIY on contouring, so here’s our take on the subject. Contouring or shading is a trick makeup artists have used forever to add dimension to faces and define bone structures; making your nose look slimmer, cheekbones more pronounced, jaw more angular, eyes bigger…you get the drift. Kim Kardashian is a master of the game and so will you be once you click through our slideshow detailing exactly how you can pull it off!
For contouring You will need:
- Foundation
- Bronzer
- Concealer
- Face Expert Brush or Blending Brush
- Contour Brush
- Setting Brush
Step 1:
Prime and prep you face using a foundation. We recommend using Lakme 9 to 5 Flawless Matte Complexion Foundation.
Step 2:
Use a concealer which is two shades lighter than your regular foundation to highlight your facial features. This will enhance your features. We prefer the L'Oreal Paris True Match Concealer. Apply it on the top of your cheekbones, under your eye area, down the bridge of your nose, in an upside-down triangle on your forehead, around the top and bottom corner of your eyebrows, Cupids bow and centre of your chin. You can use a concealer brush to apply the product.
Step 3:
Use a bronzer or a concealer two shades darker than your foundation to contour. We recommend the Natio Pressed Powder Bronzer for contouring. Now it’s time to fill in the shadows. Start making strokes below your hairline at the top of your forehead and your temples, along the right and left sides of your nose, the hollows of your cheekbones, and along your jawline on both sides, from your ears to the tip of your chin. TIP: To find the hollows in your cheeks, suck them in or place a makeup brush diagonally from the outer corner of your lips to your ears as shown in the image).
Step 4:
Remember, blending is your best friend. You want to soften the edges and the finished face shouldn’t have any visible marks and lines. We recommend the Real Techniques Expert Face Brush to blend.
Step 5:
This step may be skipped if you don’t have oily skin. If you want a matte effect then use a setting powder/ compact powder to set your work of art.
Also, don’t forget to check out our article “Contouring, the ultimate shapewear for your face for more about contouring.
Read more about highlighter makeup:

