In This Story:
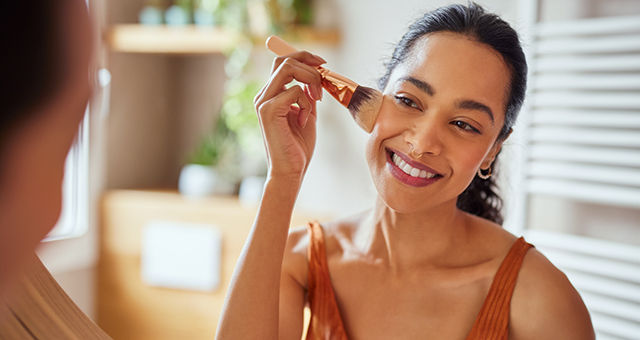
The festive season has kicked off (across the nation), and if you’re scouring the net for a gram-worthy look – might we suggest a classic smokey eye? Involving intricate detailing, a smokey eye can be teamed with a bold lip or a muted pucker (whatever you fancy) and seldom falters.
While a black smokey look may seem like 'the' obvious pick, today we are rallying for the neutral-toned but equally alluring brown smokey eye. Boasting shades of coco and chestnut – it is the perfect bet for folks who don’t wish to go full throttle and commit to the intimidating hue that is black. Scroll further for a step-by-step guide to perfect brown smokey eyes as seen on your favourite celebrities.
Products Required For The Perfect Brown Smokey Eye Makeup
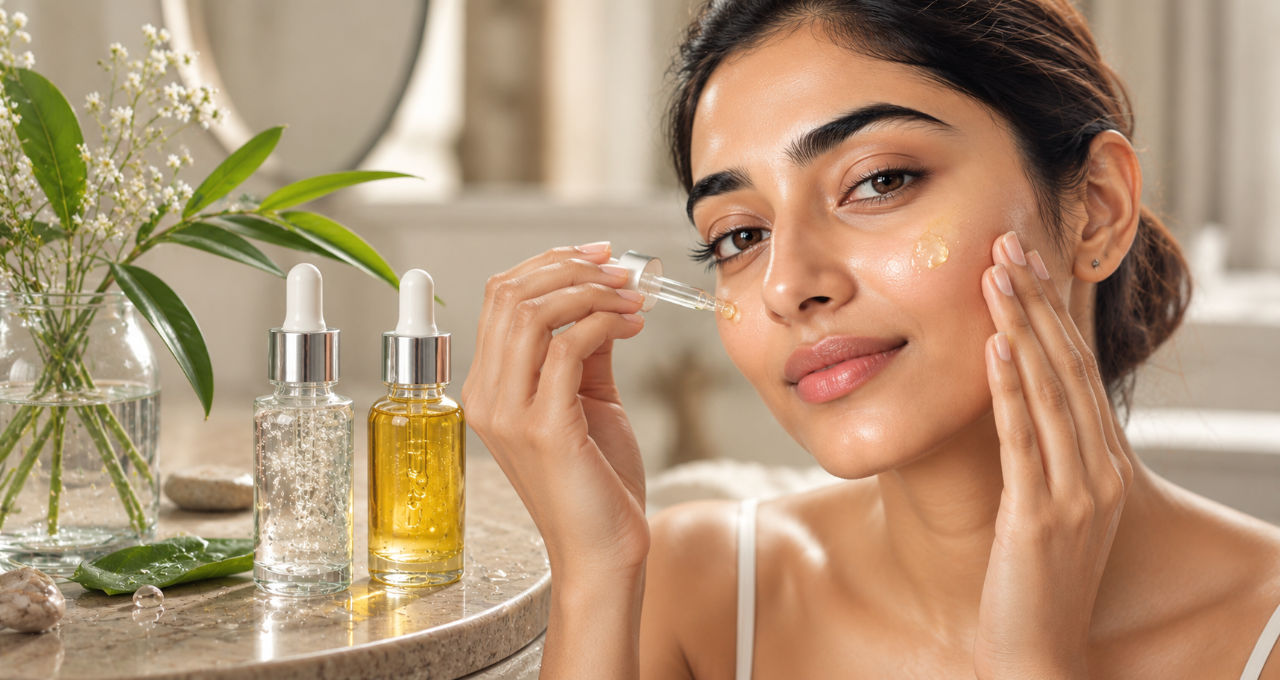
- A primer and a concealer to set the base for the brown smokey eye shadow right.
- A minimum of two shades of brown eyeshadow to create a smokey effect. Some glitter and black eyeshadow will really elevate the whole look.
- An eyeshadow brush to seamlessly blend the colours for a gradient look.
- Give your brown smokey eye makeup more definition by applying a brown eyeliner pencil on the tight line. If you are feeling ambitious, make a wing on the outer corner of your eye with liquid eyeliner .
- Add finishing touches with some brown mascara to go with your brown eyeshadow smokey eye.
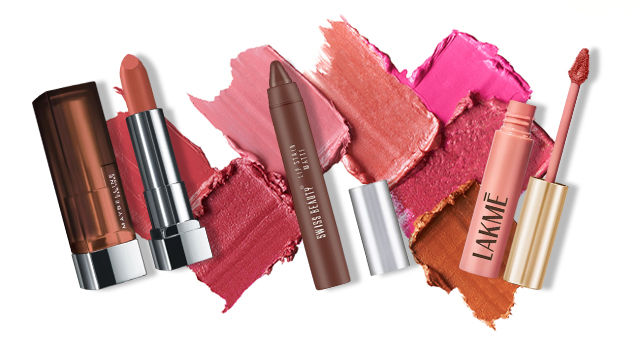
- Just a brown smokey eyeshadow looks incomplete without a nicely coloured lip. Opt for a nude lipstick or a red one if you are feeling bold.
- Finally, set your style with a setting spray to avoid melting, smudging, or vanishing of your hard-earned look.
Here’s A Step-by-Step Guide to Perfecting The Brown Smokey Eye
1. Create an Impeccable Base
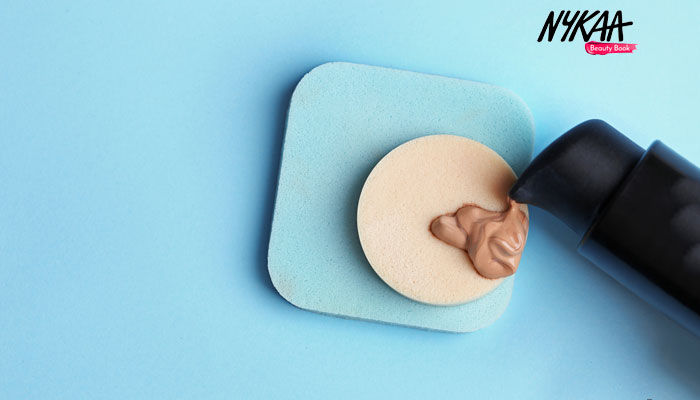
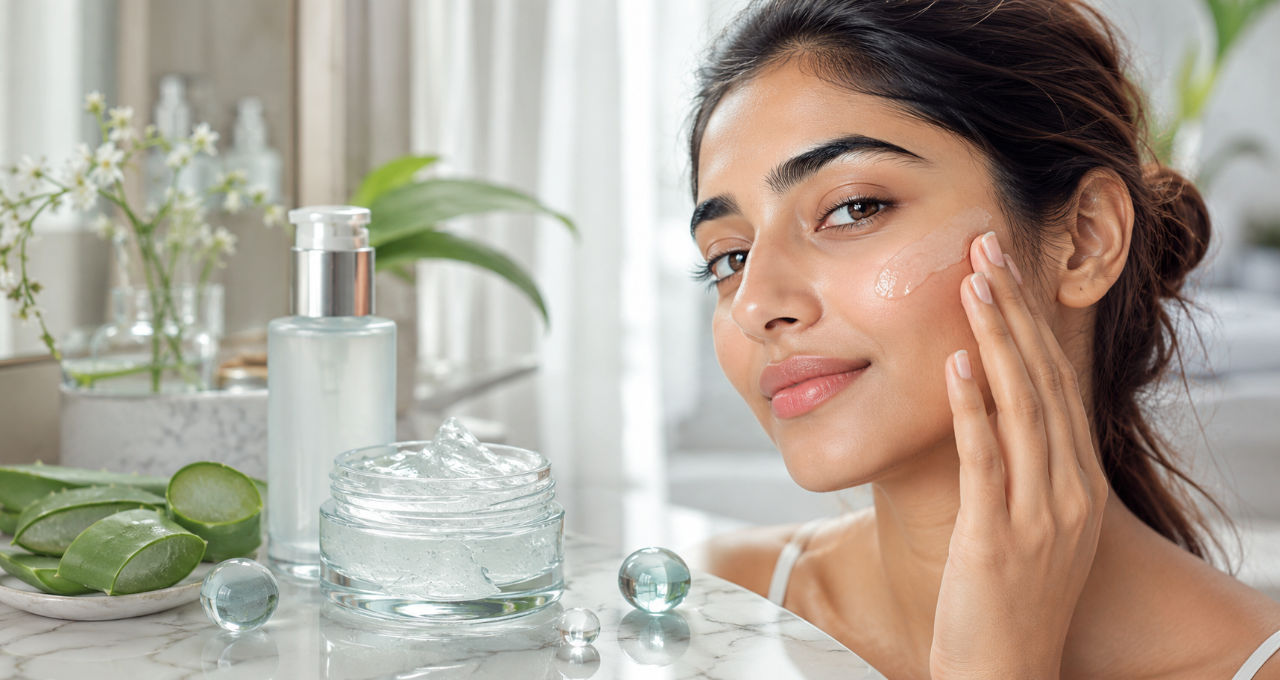
To ensure immovable brown smokey eye makeup and colour retention, start with a thin, even layer of primer. This potent formulation blurs all the imperfections to create a smooth base on the lids. If your vanity is remiss with a primer, use a concealer to double down efforts for your makeup’s longevity. When used strategically, a concealer prevents creasing or folding on the eyeshadow formula. And who doesn’t want that?
Nykaa Recommends:
2. Pick the Perfect Palette
The perfect product plays a pivotal role in nailing the brown smokey eye makeup look. If you are a beauty beginner, we recommend quad palettes, carrying a medley of mattes, shimmers, glitter, and browns because smokey eye makeup with brown eyeshadow looks very natural. For seamless and thorough blending, look for silly formulas which reduce fallout. Also, invest in a good set of brushes, as it facilitates a precise yet organic application process.
Nykaa Recommends:
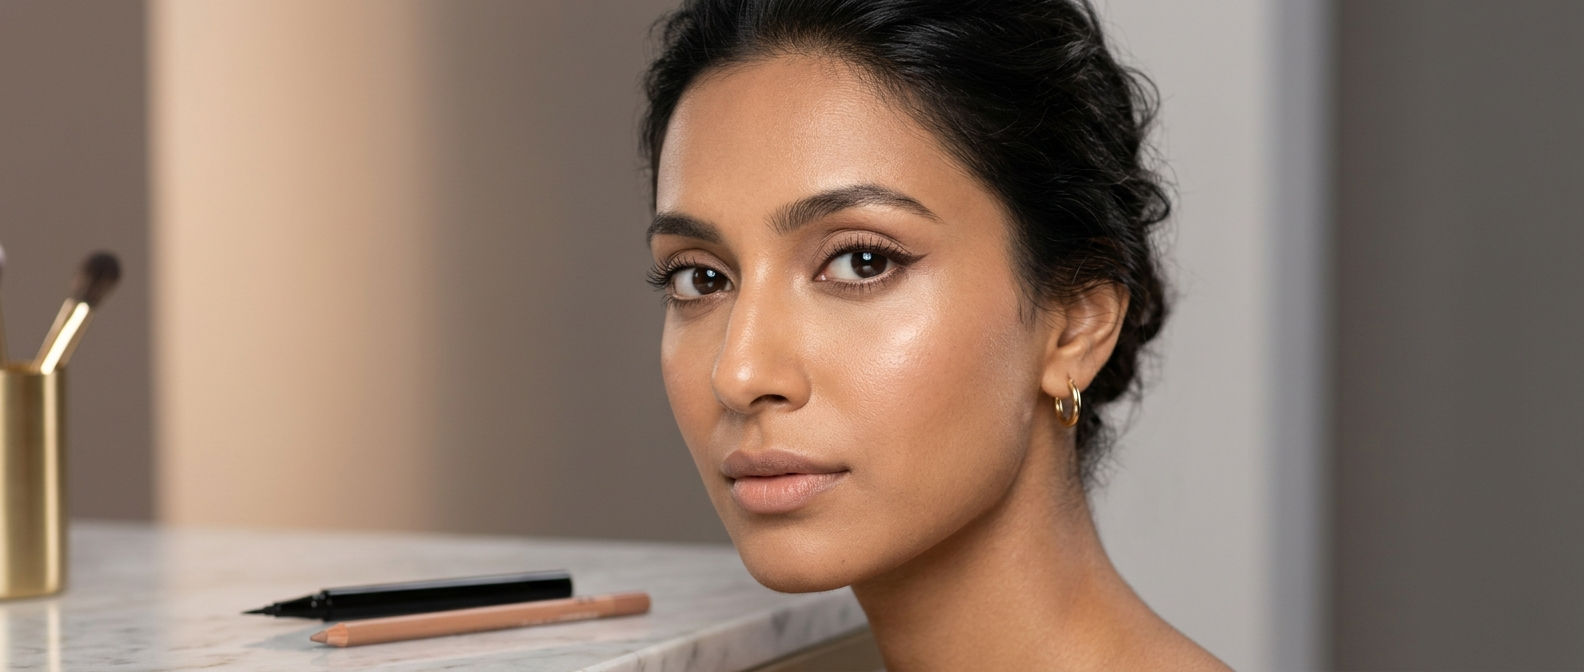
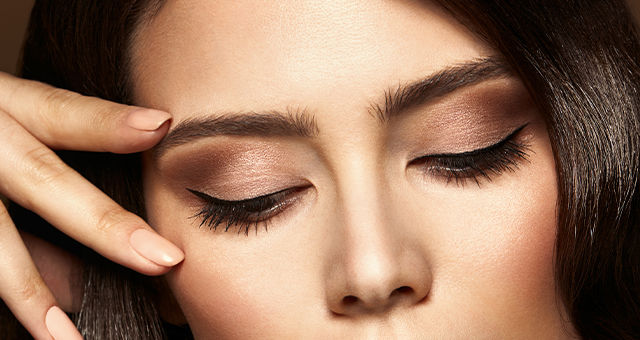
3. Now, for The Colour
Start with a delicate brushing of the lightest shade of brown or beige on the lids. Once your base layer is intact, use a mid-sized fluffy brush and add a generous helping of the deepest brown – under the crease on the outer side of the eye. Use precise, trained movement to slightly span this colour towards the eye socket. Next, pick a mid-tone hue and meld the three shades together to lift your eyes with the soft, circular motions of the bristles. Refrain from applying too much pressure while you manoeuvre the brush to help create an organic, free-flowing gradient.
For the finishing touches, add a shimmer pigment for a high-powered glam avatar. You can even add a twinge of dewy highlighter or pressed pigments to the brow bone. This little move adds immense depth and drama to the gaze.
Nykaa Recommends:
4. Sketch A Strobe on The Waterline
Use brown or black eyeliner for the tight line. If you're a pro at sketching fine lines, use a liquid variant. A liquid liner guarantees an unmatchable colour payoff with a velvety finish. Otherwise, you may opt for a twist-up gel or kohl pencil that bestows you with an unerring grip. Use the wand to fill in the visible gaps between the roots of the lashes – a barely there strobe to add definition to the look. Repeat this process on the lower lash line and depending on the vision or occasion – proceed to buff the formulation with the smudge tip.
Nykaa Recommends:
5. Lush Lashes
For the final step, envelop your lashes with a volumising formula. Look for water-proof and long-lasting concocts that don’t budge for a prolonged period. We also recommend mascaras that separate lashes and curl (or lengthen) them individually. Swipe the upper and lower lashes for the best results.
Nykaa Recommends:
6. Finishing Touches
Now that your brown smokey eye makeup is sorted, complete the whole look with lipstick. Your eye makeup may be on point, but without lipstick, the result can look a bit lacklustre. Since the eyes have a lot of colour and glitter going on, you can keep your lip makeup to a minimum with a nude or brown lip shade. Lastly, spritz some setting spray or a fixing spray to make sure your makeup remains intact.
Nykaa Recommends:
Parting Thoughts
If you are looking for smokey eye makeup for brown eyes this brown eyeshadow look is just the one for you. You don’t even need a lot of colours and tools to achieve this look, even with just two shades and a kajal pencil you can create your own brown smokey eye makeup within minutes. Make sure to prep your base and finish with a fixing spray to make your look immovable.
FAQs
-
How to do a brown smokey eyeshadow?
Start with a primer and concealer to create your base. Once your base is set, go in with your favourite brown shades and some glitter and blend them with a fluffy eyeshadow brush. Complete the eye makeup with a liner and mascara. Finally, apply complementary lipstick. We recommend a nude or brown lip shade for a subtle look and finish with a fixing spray to keep all the products in place.
-
What’s the best smokey eye makeup for brown eyes?
The best smokey eye makeup for brown eyes is the one that uses light shades of brown, nude, and pink to bring out the brown in the eyes.
-
How to make sure the brown smokey eye makeup look stays?
Make sure you start with a primer and concealer so that whatever product you put sticks onto your skin due to its hydrating and concealing properties. Don’t forget to spritz some fixing spray once you are done with your makeup to set everything in place.
-
Do I need eyeliner if I am doing a brown smokey eye?
Yes, when you use an eyeliner, whether pencil or liquid, your eyes look more defined and sharp giving you a sultry, sexy look. If you want a dramatic look, don’t forget to add some mascara to your lashes as well.
-
Which eye shape looks nice with brown smokey eye makeup?
Almost all eye shapes look nice with brown smokey eye makeup. However, the most ideal eye shapes for brown smokey eye makeup include almond, round, and deep-set. If you have hooded eyes, focus more on the outer corner of your eyes for a visible pop of colour.