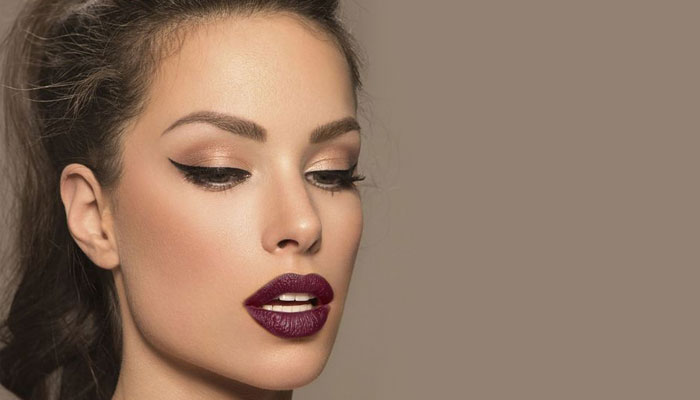
Winged eye liner has never been more in vogue! There is something about the simple winged eye liner look that looks flattering on everyone, irrespective of their eye shape. The extra flick of liner—popular since the 1950s—adds just that extra little dash of glamor no matter what the occasion.
It’s a surprisingly easy look to do it yourself with any eye liner. Liquid, gel and cream eyeliners gives a precise, sharp line while pencil and eye shadow creates a soft line. Check out these steps to create a simple winged eye with a liquid pen! The beauty of this look is that it can be as bold and dressy or as soft and casual as you want. A little flick of liner can add glamour and feline grace to any look and in this tutorial you’ll learn how to create a bold winged liner.
While the winged liner doesn’t need eye shadow to look gorgeous, I always like to add a hint of sparkle to my eyes. A quick wash of pale gold using a cream eye shadow can elevate the look completely.
Since the liner is the focus of this look, it’s important to have the right tools to create it. Gel liners and felt tip liners are the easiest to work with. I’d recommend Felt Tip Liners for beginners as they give very good control and precision.
Step 1: Apply a wash of the gold cream eye shadow all over the lid using a brush or finger. Soften the edge in the socket line using your fingers to give a natural look.
Step 2: Now we will start tracing the lower edge of the liner. Start the liner application along the upper lash line from the centre of the lid. Keep the line as close to the lash line as possible. There should be no gaps between the lash line and the liner.
Step 3: Once you reach the outer edge of the eye, wing the liner upwards. Imagine a line joining the outer tip of your eye to the outer tip of your brow. You need to draw the wing along this imaginary line. So basically, the ‘wing’ of the liner should be pointing towards the outer most tip of your eye brow.
Step 4: Now go back in and complete the line from the centre of the lid to the inner tip.
Step 5: Now that you have the base of the liner in place, trace the top edge of the liner. Starting from the inner corner, start tracing the upper edge of the liner. For the most flattering shape, the liner should be thin and pointed at the ends and thickest at the outer edge of the eye.
Step 6: Continuing tracing the upper edge of the liner and end it by joining the line created in Step 2-4. Make sure the edges meet perfectly at the end so that there are no gaps. Now we have basically created an outline for the bold winged liner.
Step 7: Fill in the outline created in the previous steps. Refine the wing to be perfectly sharp, neat and correct any mistakes using a moist cotton bud.
Step 8: Curl your lashes and apply two coats of your favorite mascara!
Nykaa Recommends: Nicka K Radiant Liquid Eye Shadow - Ochroid Titan, Nykaa Black Magic Liquid Eyeliner - Super Black 01, Lakme Absolute Shine Line Eye Liner - Shimmery Bronze, Colorbar Lash Illusion Mascara Lengthening Lash & Volumising Mascara and LOreal Paris Voluminous Lash Paradise Mascara - 204 Blackest Black
Read more about smoky eye makeup:
YOU MAY ALSO LIKE

Get your daily dose of beauty inspo delivered to your inbox
SUBSCRIBE
MORE from Makeup


