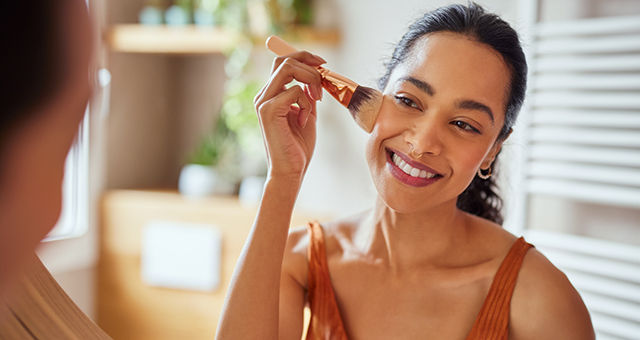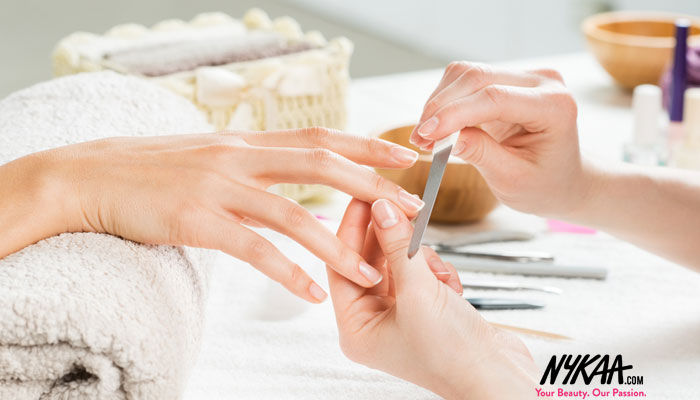
Love perfectly manicured French nails but don’t want to spend big bucks at the salon? Here’s the solution.
Get a perfect French manicure at home with these five easy to-do steps. And then bask in the compliments.
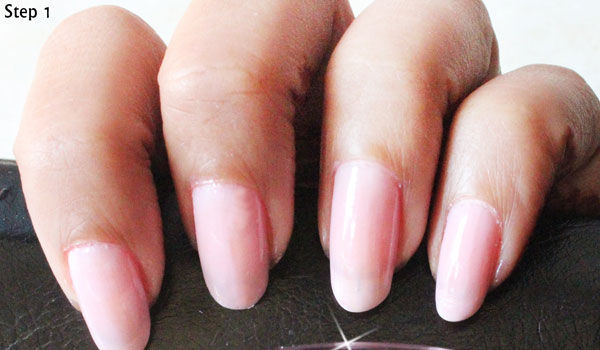
- Step 1: Start with clean nails devoid of any trace of nail polish. Buff them if necessary and apply a base coat (optional). Apply a baby pink nail polish/beige nail polish/tan nail polish as the base color. Pick the shade depending on your taste. Apply a second coat if required.
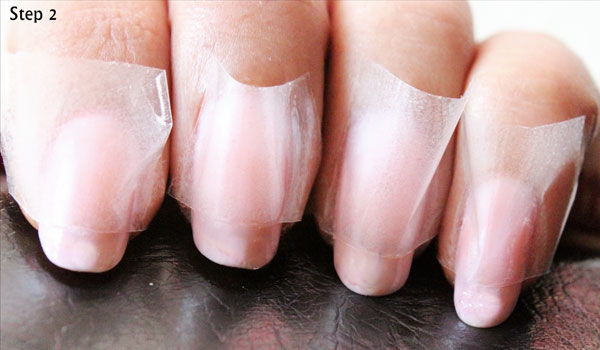
- Step 2: Only after your base coat dries completely, begin Step 2. Grab some cello-tape and cut into one inch strips. De-glue by placing strips on the back of your hand and repeatedly removing till most of the glue comes off. This will ensure that the glue doesn’t spoil your base color.
- If you want straight French tips (suitable for square tip nails) then place the cello-tape directly on your nails leaving the tips bare. If you want a curved French tip (suitable for round nail tips as in the pictures), place the cello-tape in a curved fashion as demonstrated here.
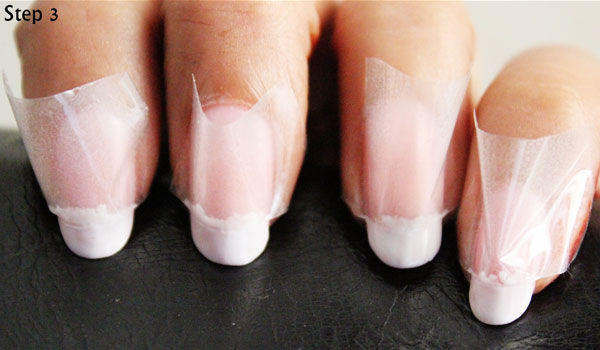
- Step 3: Apply a matte white nail polish; preferably quick dry ones that works best for French tips. If your polish is opaque, one coat should be enough. If your polish is a bit translucent apply two coats and allow it to dry completely.
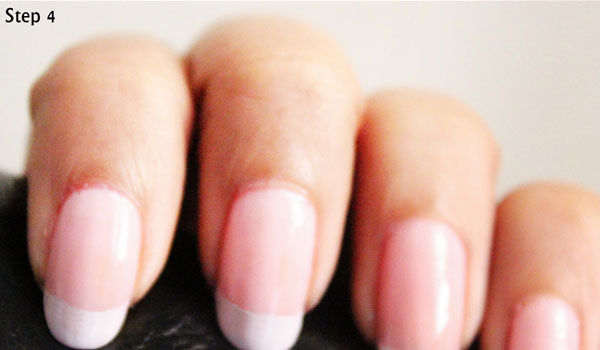
- Step 4:After the tips are dried, peal the cello-tape carefully in one direction. My advice is not to peal it the polish is still wet or even semi-dry. Also don’t tug the tape in both directions. Patience is the key here.
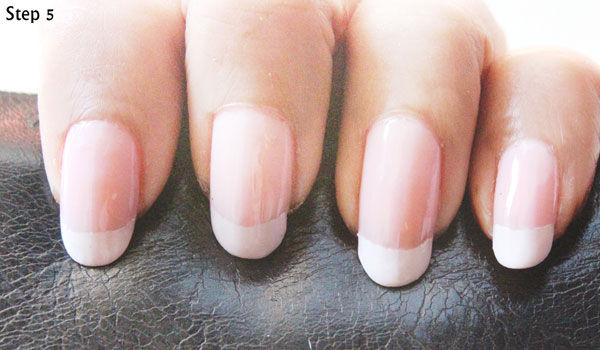
- Step 5:To seal your French manicure for longer, apply a top coat evenly on nails and allow it to dry completely.
Some suggestions:
Colorbar– Flirty Pink, Flirty Mauve, Rosa Rosa
Colorbar– Exclusive 42
Lakme True Wear Color Crush– #9
Maybelline Express Finish– #174
Revlon Super Smooth nail enamel– 376 Opulent pink
Street Wear Quick Dry Nail Enamel– 07 Natural Hues, 11 Panache pink
Some suggestions:
Lakme True Wear Color Crush #8
Revlon Super Smooth Nail Enamel – 395 White Divine
Some suggestions:
Street wear top coat
Sally Hansen’s Advanced Hard as Nails Strengthening Top Coat
Voila! You now have French nails! Do you still need ‘professional’ help? Nah!!!
Jinal Patel owner of the blog https://dazzlingbelle.com/ is a Delhi-based beauty blogger, adviser and makeup junkie with a serious passion for writing
Read more about the latest French Manicure designs: