Namrata Soni of the gorgeously long tresses and pretty face is a makeup artist with an exceptionally unique style that has won her fervent admirers. With her work featured on multiple mediums from magazine covers to feature and ad films, Soni is the preferred makeup magician for celebrities such as Malaika Arora Khan, Preity Zinta, Tabu, Salman Khan, Arjun Rampal and Sonam Kapoor. Kajal and the blackest black liners have had their day, she feels. “Now it’s the time for electric eyeliners in pink, blue and green. Even better, they look stunning on Indian skin. You can do a winged liner or reverse smoky,” she explains.
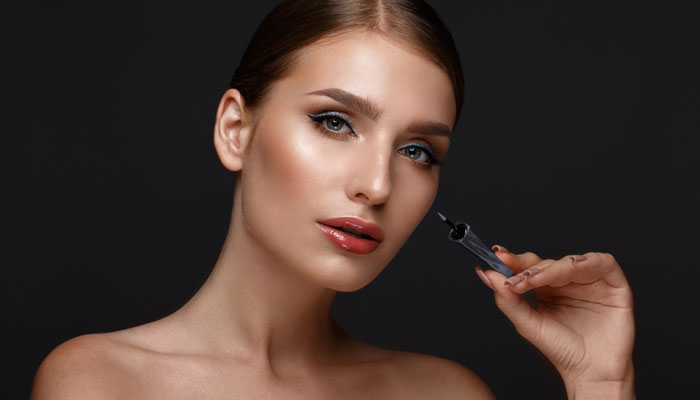
Winged liners are likely to be the biggest trend this year says this makeup artist to the stars; depending on the occasion—and time of day—use a subtle or dramatic liner. “Of course there are many ways to line eyes,” she says with a wave of her artistic hands. “You could just line the top lash line or the bottom or simply tight line the inner waterline, all depending on your mood that day.” And then there are those who like all three, integrating all three lines into a sharp and gorgeous wing! “It’s such a dramatic way to make a statement,” she smiles.
But how’s a novice to get started? Scroll down below for all the deets.
1. Shape ‘Em Right
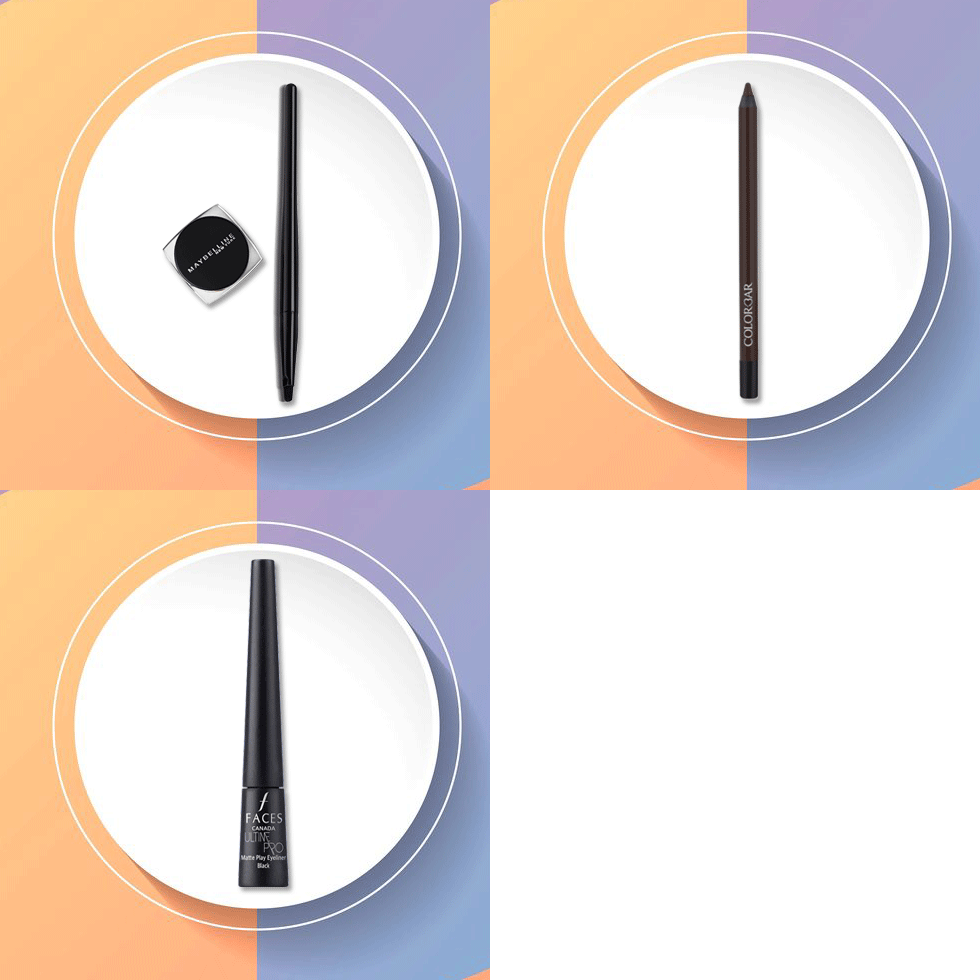
Start by rimming the inner water line with a black gel liner instead of a kajal or kohl liner because the latter will slowly smudge throughout the evening. For Sonam’s wow worthy Gayatri Devi Indian look at Cannes, Soni used a light brown eye pencil to get the shape right and then filled it in with a liquid or gel eyeliner. To create a pro worthy wing, Soni says the first trick is to lift your upper lid up gently and line the upper inner waterline too. Then blink your lids together to merge the two. Next line your bottom lash line.
2. Wing It Like A Pro
“It’s very important to line your bottom lash before your top because the bottom angle determines the top wing’s angle,” she explains. Start at your inner corner and sweep the liner across to the outer corner. Then continue tracing along the angle where the outside lower lid turns upward as you drag the brush/pencil towards the end of your brow. “Then starting again at your inner corner, line your upper lash line, making sure it’s all one width and doesn’t get thicker as you might do with other looks. When you reach the end of the eye, continue past it until you intersect with the bottom line. Make sure to go back and fill in any spaces so that every millimeter has been painted black and no skin is showing through.”
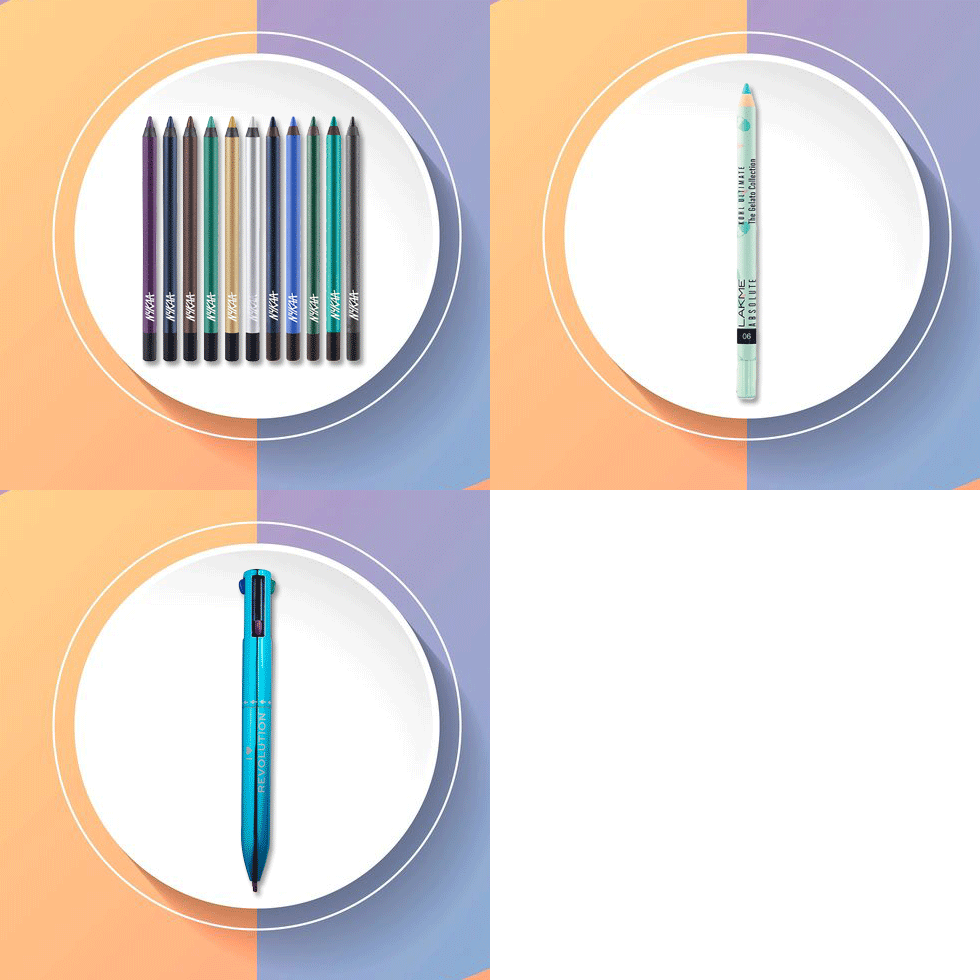
3. Forget Boring Black, Color’s The Way To Go
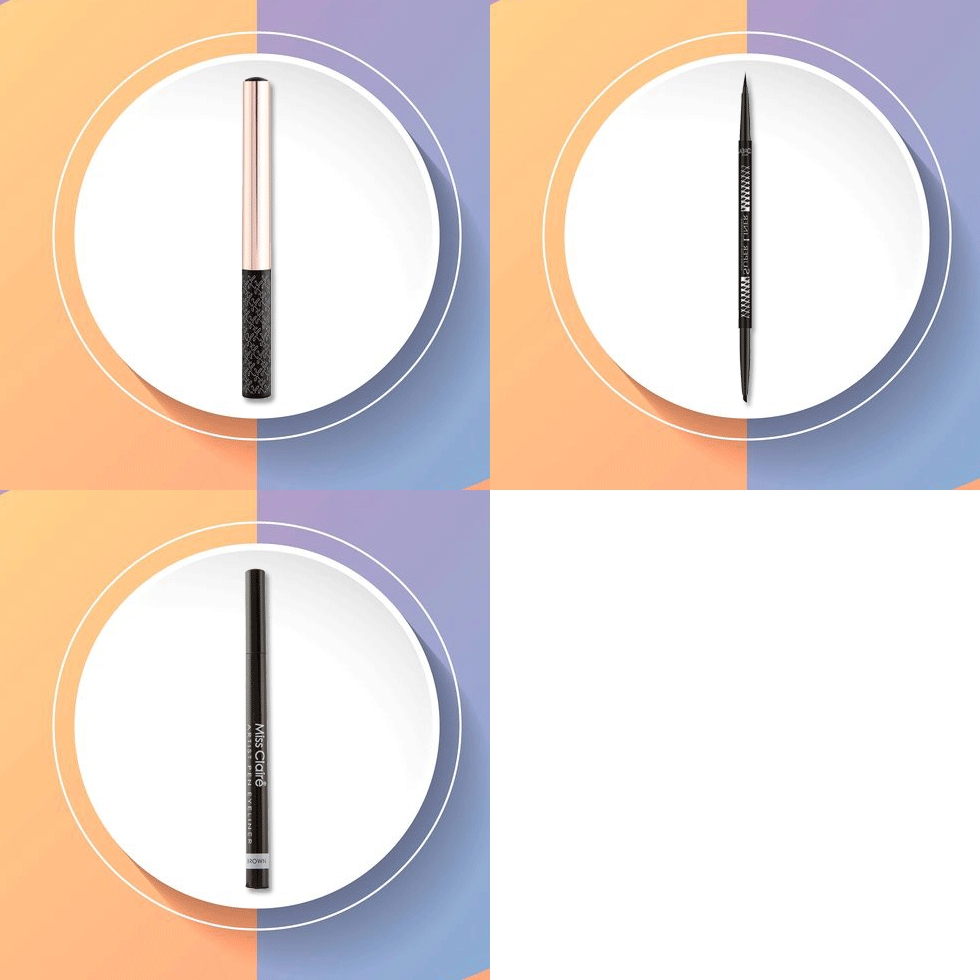
Eyeliners have come a long way. Forget boring black and enter the world of color. “Turquoise liners look gorgeous with dark eyes,” says Soni. Add funk to your look by tight lining the upper and lower lash line with turquoise. After smudging the color to soften, underline with black liner and smudge over again, blending the corners really well. Next smudge the outer corner of the top and bottom lashes with another coat of turquoise liner, finishing up with lashings of mascara. “Dual toned eyeliners look lovely. Besides blue-black, try bronzed gold and moss green, or any other combination you fancy,” she concludes.
4. Glide on some kohl
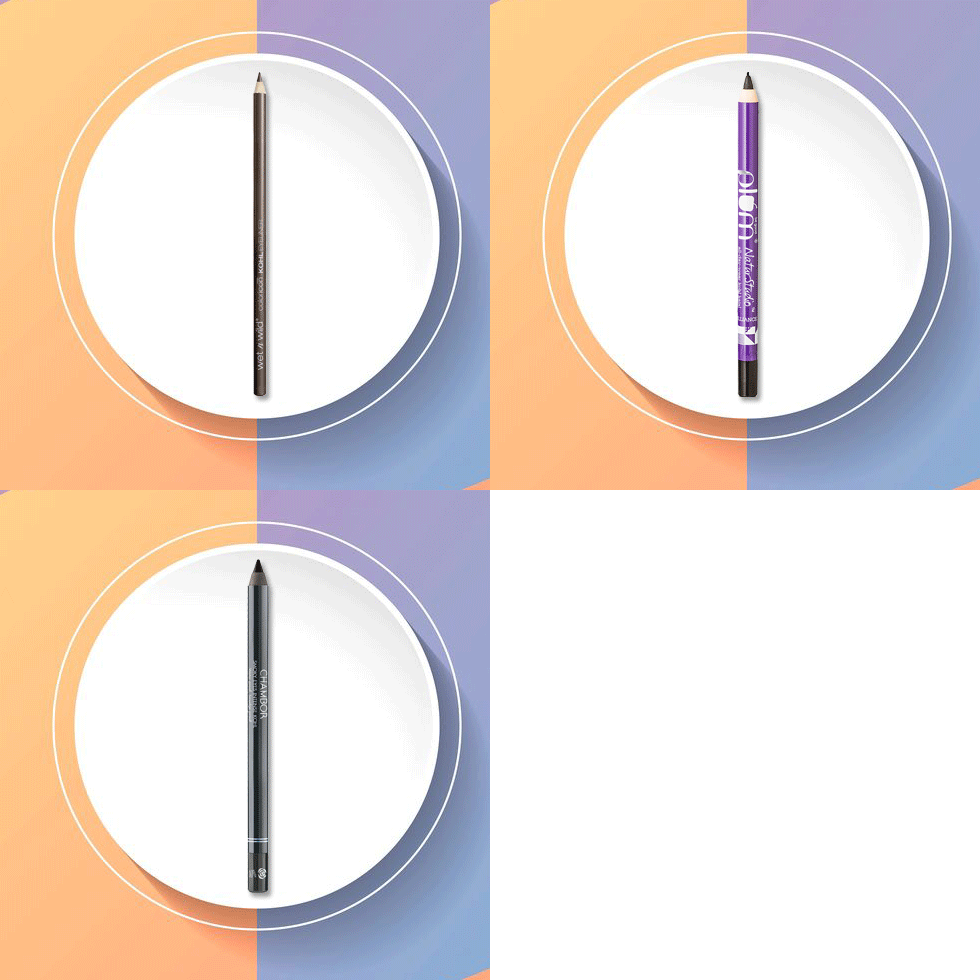
Kajal has come of age and its new gen version the kohl pencil has all the beauty of kajal without its mess and spillage worries. “More adventurous gals can choose from kajal formulations in metallic and matte solid finishes. In fact, they’re amazing for smudging with your fingertips or even with a cotton bud, creating more of a frame than a line,” says Soni. She suggests getting between lashes and even the waterline for a sharper look. “Kohl liners are great for giving a softer look because they blend easily and are very safe for to use even on the waterline. The trick, says this makeup pro, is to use the point of the pencil held at a 90 degree angle for a thin line. “For a thicker line, slant the pencil to a 45-degree angle, using more of the side of the tip of the pencil,” Soni explains. Feel free to experiment with the angle of the pencil as make-up is temporary and you can wipe it off and try again if you don’t like the final look. If you prefer a slimmer line, sharpen the kohl stick to create precise lines. Soni shares a cool trick: “For a smoky line, heat the tip of your kohl stick near your light bulb.” Finally finish with a coat of mascara and fill up brows but keep lip and cheek colours muted in peachy pink so the look is not too loud.
