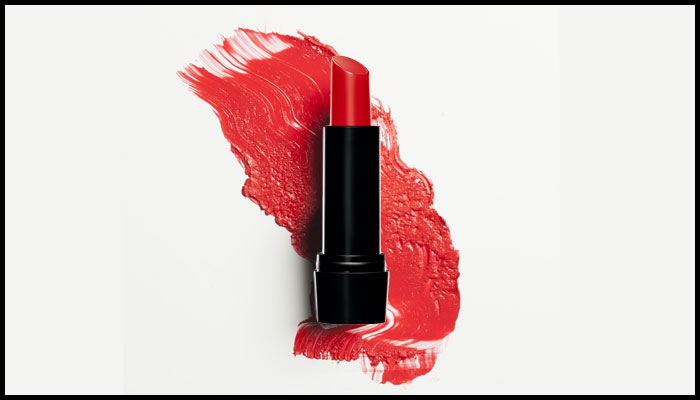
I remember when I first started applying lipsticks. It was a year into college and I had just started understanding my love for a bit of pop on my lips. But I would do a pretty shoddy job (obvi). In a rush to make it to my early morning class, I’d end up swiping my lipstick the wrong way or too quickly or without prepping my lips, and end up with dry, faded, chappy lips with hints of patchy pigments by noon.
If I could travel back in time, a pro tip that I would have definitely given to my younger self is just a few scroll away (a video clip awaits, you’re welcome). Yes, there’s a series of steps that can get you the perfect pout,trust. To be absolutely honest, there are no ‘rules’ to correctly applying lipsticks, but there are sure-shot ways to make sure that your lipstick doesn’t smudge, dry out, fade away or make your lips chapped. Below, easy, effective and quick steps that’ll truly alter (for the better) your lipstick routine, without eating up your valuable time before you start your morning hustle.
Step 1: A Coat Of Lip Balm
The skin on your lips is a lot more sensitive than the rest of your face. Thus, your lips need more hydration, especially before a coat of lipstick. In fact, some lipsticks that have a matte finish or a tinted texture can make your lips even drier. Thus a nourishing lip balm as a protective, moisturising layer before applying your lip colour is a must. Turn to balms with shea or cocoa butter that have powerful hydrating properties.
Need another reason to use a lip balm? Think of it as a primer for your lips before makeup, for an easy lipstick application. You can go for a lightweight, fast-absorbing, yet hydrating formula that won’t hinder the colour pay-off of the lipstick.
Step 2: A Liner For Definition
Well-defined lips lead to the perfect pucker. Think of this as your lipstick mantra. Before you begin to paint your lips with lipstick, make sure you line your lips with a similar shade of liner. Remember as kids we’d struggle to paint inside the lines? Consider liners godsent.. Also, lip liners are textured in a way that helps your lipstick stay put and avoid bleeding.
The trick is to stick to your natural shape, begin from the edge of your lips and draw the liner in to the centre. The best part:? If you wish to master the viral feathered lip trend, you can use a soft and light shade of lip liner and blend it in with your balm, making the perfect base to achieve the look.
Step 3: Colour In With The Liner
It’s a pro tip we learnt from our favourite MUAs to ensure longlasting colour, use the lip liner to colour your entire lips before actually adding on your lipstick. It acts as a base to your colour and even if the top layer of your lipstick fades after some time (or a couple of glasses of water), the liner still stays intact.
In fact, if you have lips that dry out too fast, use a liner that is moisture-rich. It will not only stay in place, but also keep your lips comfortable and nourished.
Step 4: Apply Your Lip Colour
Your lips are now prepped for the lipstick. Apply your lipstick starting from your cupid’s bow. You can try a cross stroke from each tip of your cupid’s bow and then fill in the rest of your lip. This simple, and effective style of applying lipsticks ensures that your lips are coloured and shaped perfectly, without it smudging.
If you’re mixing two colours (as most of us do), add the second colour after entirely coating your lips with the first. The second colour can be added to the centre of your lips, patched onto the rest of the area and then blended. You can use a brush if you’re not confident with blending.
Step 5: Protect With Gloss
If you love glosses as much as we do, you would understand the vitality of this step. Not only does a lip gloss add a gorgeous shine to your lipstick, but also safeguards your colour (it’s true!). Whether you end up sipping coffee or caught under the rain, a lip gloss will give your lip colour an extra layer of protection.
While a transparent lip gloss is ideal for the last coat, you can also match the colour of your gloss with your lipstick. Smack your lips together and voila! You’ve got a lip colour that defines you lips perfectly, gives it dimension and stays on the way you like it till the cows come home.

