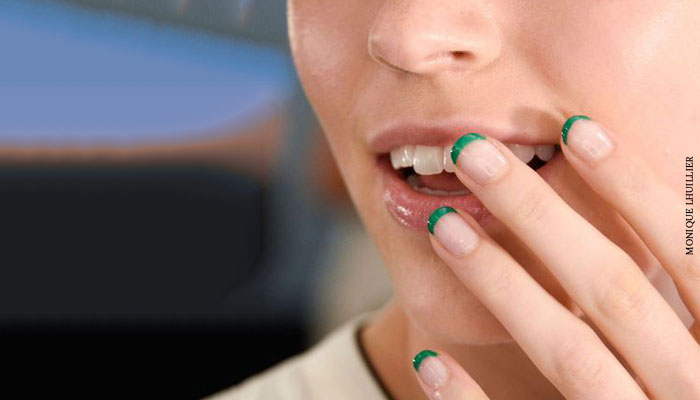
When it comes to choosing a classic nail style, I totally believe that the French manicure is the Chanel No.5 of nail arts; more so, if you believe in understated glamour in this day and age of crazy nail arts. French nails not only look uber polished, but they work with any ensemble or occasion—be it a formal board meeting, a glamorous cocktail affair or even for your bff’s wedding. Did someone say versatile?
However, if you thought this age-old classic belongs to mid-2000s, boy! have I got news for you. The latest incarnations are anything but basic; think glittery French tips, gorgeous lace details, fishnet accents, chic metallic elements and even rainbow patterns—anything that can add a little pizzazz to your tips. What’s more, you can also add some color to your French nail art to make them more interesting. If we haven’t said this before, sky is definitely the limit.
To make your lives easier, we have rounded some magnificent French manicure nail art that look amazing and are really oh-so easy to re-create at home.
However, let’s first start with the basics on how to ace the perfect French manicure at home.
Follow these steps to get the perfect French Manicure
- Step 1: Start by applying a coat of Maybelline New York Superstay Primer Protecting Base Coat on all your nails to even out the nail surface.
- Step 2: Apply two thin coats of the neutral colour (subtle pink) on your entire nails. After it’s completely dry, place a thin strip of scotch tape on the area separating the tips. Paint your tips with the white nail paint; remove the strip when the nail paint dries. We love the Miss Claire French Manicure Kit - Black Box that features a subtle pink shade and a bright white matte for the tips.
- Step 3: Finish with a top coat of Wet n Wild MegaLast Hard As Ice Top Coat, running it along the edge of the tip to cap the nail as this will help prevent chipping. To extend the life of your French manicure, reapply a top coat every 2 to 3 days.
However, as gorgeous as French nails are, sometimes it’s just great to reinvent a classic and make it your own. Here are our ideas to modernize the classic mani for a total nail makeover.
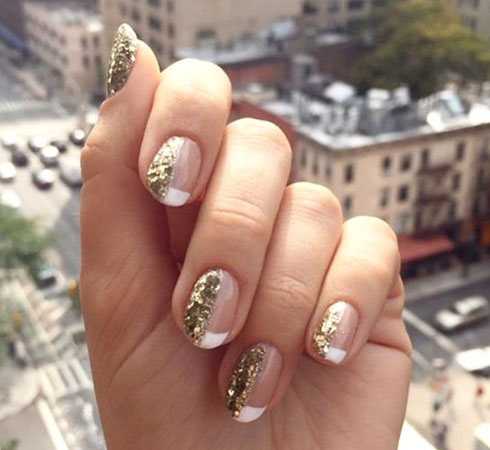
1. A Dash Of Bling
One of the easiest ways to jazz up the basic French nail art is to add some sparkle to your tips. Feel free to experiment with different hues of glitter and patterns to keep things interesting. Festive nails anyone?
- Step 1: Follow the previous steps to achieve perfect French nails.
- Step 2: Next using Colorbar Arteffects Nail Lacquer, paint a vertical stripe on the half portion of your nails.
- Step 3: Seal it off the Maybelline New York Super Stay 3D Gel Effect Plumping Top Coat for a long-lasting, chip-free finish.
Follow these steps to get those beautiful French Nails
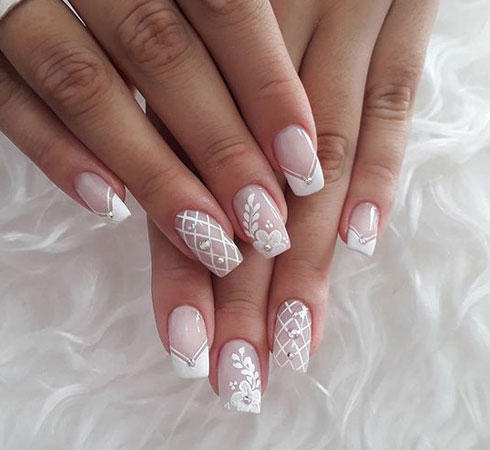
2. Fishnet Mani
How about giving the crescent shaped white tips a miss, and trying something more edgy and versatile for a change? We love this quirky fishnet French nail art, replete with edgy stones and floral accents.
- Step 1: Start by applying a coat of O.P.I Natural Nail Base Coat on all your nails to even out the nail surface.
- Step 2: Apply two thin coats of Orly French Manicure - Pink Nude on your entire nails. On the index and the pinky finger, place a thin strip of scotch tape in a criss-cross manner and paint your tips with the white nail paint. Place a tiny nail stone on your nails. Use this: Nails&More Nla-19 Nail Art Stone Wheel.
- Step 3: To achieve the criss-cross pattern, dab some paint on a net and then place it on your nails. Remove the net, wait for it to dry and put on Wet n Wild MegaLast Hard As Ice Top Coat.
Follow these steps to get those beautiful French Nails
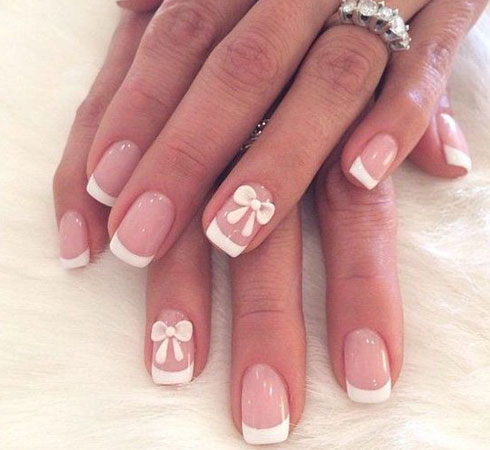
3. Take A Bow
This minimal nail look updates the French tip with the simple addition of a delicate bow. Plus, it’s the easiest look to achieve if you want to keep it simple, yet uber elegant.
- Step 1: Always start with a base coat such as the Innisfree Nail Base Coat for a rich long-lasting color.
- Step 2: After you are done with your regular French Polish Nails, let it dry and then stick mini bows like Nails&More Nla-4 Nail Art Glitter Wheel using a base coat.
- Step 3: Finish off with the Sally Hansen Diamond Flash Fast Dry Top Coat
Follow these steps to get those beautiful French Nails
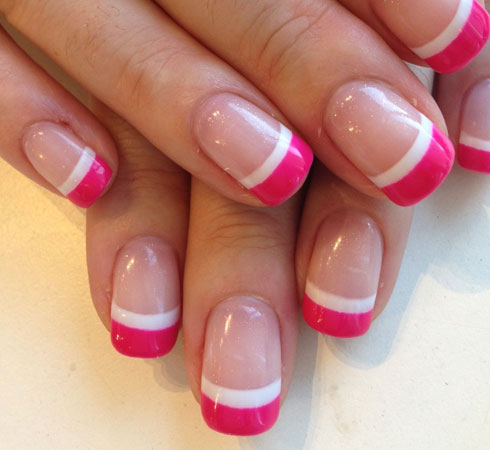
4. Pink Lined
Who says French manicure nail art can’t be colorful? We recommend adding a quirky pink stripe to make your nails pop. What’s not to love!
- Step 1: Start by applying a coat of Paese Cosmetics Hard As Steel Base Coat on all your nails to even out the nail surface.
- Step 2: Apply two thin coats of IsaDora French Manicure Gel Nail Lacquer - 218 French Nude on your entire nails. Place two thin strips of scotch tape to mark the area that needs to be painted with a white hue such as the Wet n Wild 1 Step WonderGel Nail Color - Flying Colors. After this completely dries, place a thin strip of scotch tape near the white nail paint. Paint the tips with Lakme True Wear Color Crush – 24.
- Step 3: Finish the look with the Ciaté London Speed Coat - Fast Dry Top Coat.