’Tis the season to eat and be jolly and sing in glory. It’s time to Christmas-ify yourself. If you’ve already decided your Christmas look, it’s now time to choose a fun design to deck your nails. But it can get a little overwhelming to choose from so many options out there. After breezing through countless Christmas themed nail art courtesy Pinterest and Google we’ve shortlisted some of the easiest and pretties nail arts for you. Just remember to choose festive colors like green, red, maroon, white, blue and shimmers. We are sure you’ll find your preferred nail glamor to try this festive season.
Here are some Christmas nail art designs for short and long nails:
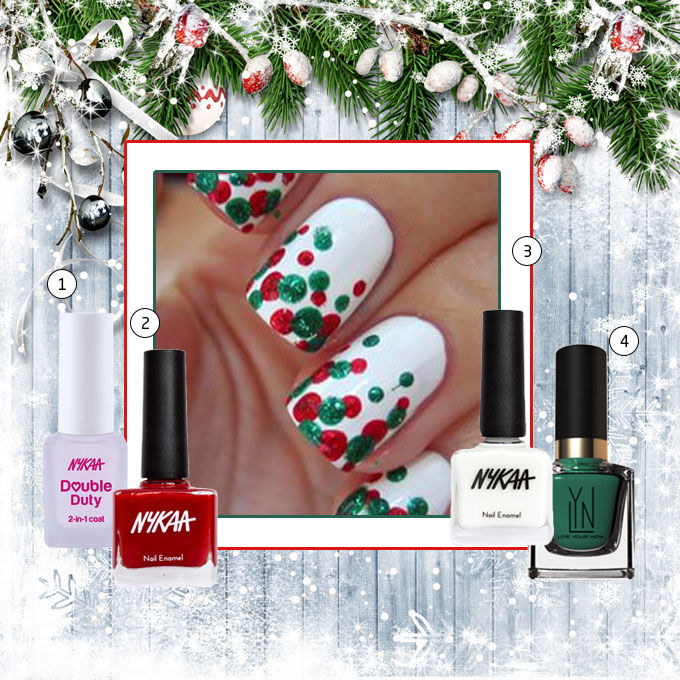
DOT-IT-OFF
If you think you can’t create nail art at home think again. This is a simple nail art with an added Christmas twist. And the best part, the messier the better. So butterfingers, try it today!
You will need:
5. A dotting tool
Steps:
- Start by applying a base coat to your nails.
- Then apply white nail polish on all your nails.
- With the help of the dotting tool, dot red and green dots on 3/4 part of your nails.
- Seal in your design with a top coat.
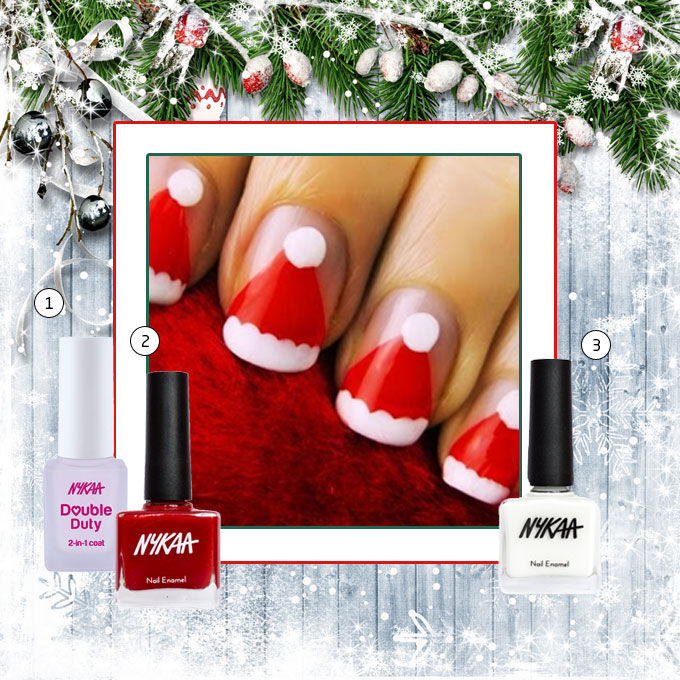
SANTA STYLE!
Aren’t these super cute? They are perfect for the festive season and super easy too.
You will need:
4. A dotting tool
Steps:
- Start by crossing two pieces of tape across your nail to make a triangle.
- Now apply base coat to the nail.
- Apply the red nail polish and let it dry for few seconds. Then gently peel the tape off.
- Now you will be left with just a triangle.
- Use a big dotting tool to create the white pom-pom on top of the hat.
- Now with the smaller dotting tool create two rows of white dots at the bottom of the hat.
- Seal in your design with a top coat.
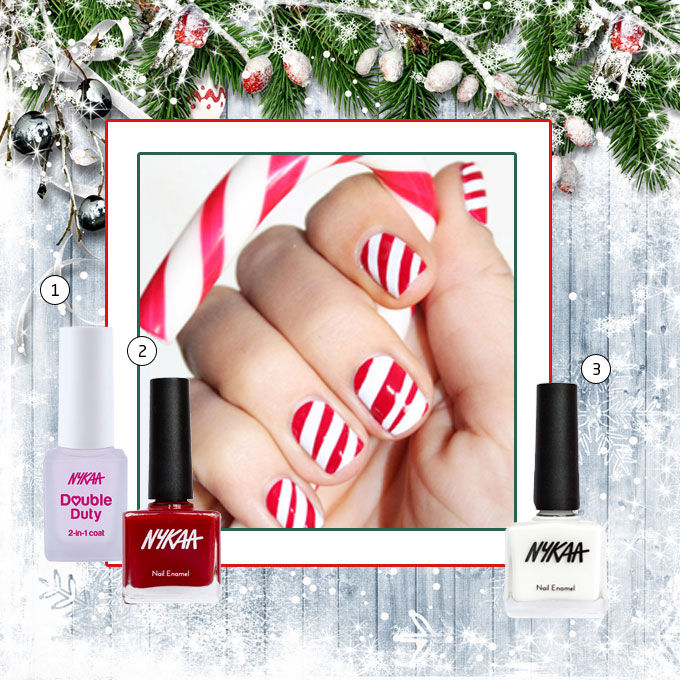
CANDY CANE
Look at the candy cane what do you see? This is a simple yet super festive way to deck your nails for the holiday season with a quintessential Christmas element: candy canes!
You will need:
Steps:
- Cut a few thick and thin tape strips, long enough to cover the nail diagonally.
- Apply a base coat to all your nails.
- Now apply two thin coats of opaque white and let it dry completely.
- Apply the nail strips diagonally across your nails.
- Now paint over the tape with red nail polish and let it dry for 30 sec and peel off the tape.
- Seal in your design with a top coat.
JOY TO THE WORLD!
We all love to decorate the Christmas tree with fairy lights and ornaments. This is a chic way to wear the Christmas tree on your nails without being OTT.
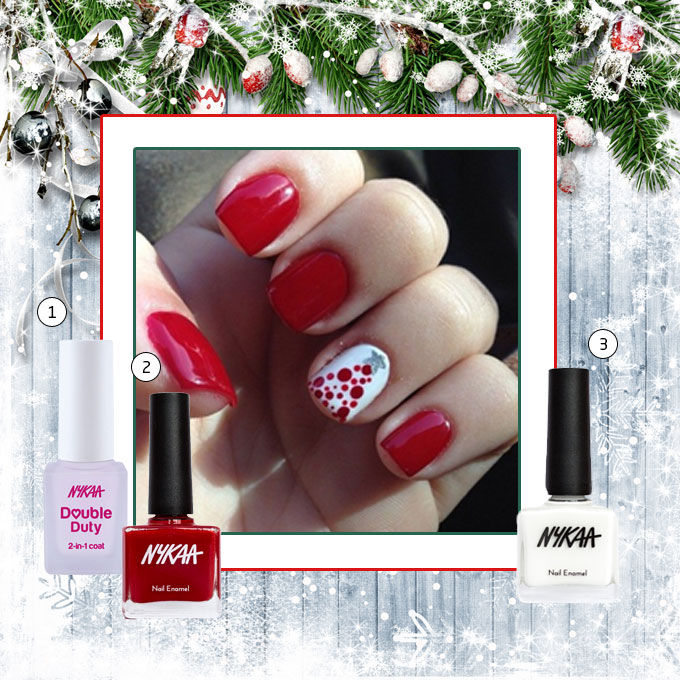
You will need:
4. A dotting tool
Steps:
- Start by applying base coat to your nails.
- Apply red nail paint to all your tips except your ring finger.
- Apply white nail polish on your ring finger.
- Now cross two pieces of tape across your white nail to make a triangle.
- Create dots in the triangle with the help of a dotting tool. Using the larger end of the tool create dots using the shade Red Velvet; and with the smaller end use shade Very Cherry to give it a contrast.
- Let this dry for about 30-10 seconds and carefully peel of the tape.
- Now with the silver nail polish make a small star on the top of the triangle.
- Seal in your design with a top coat.
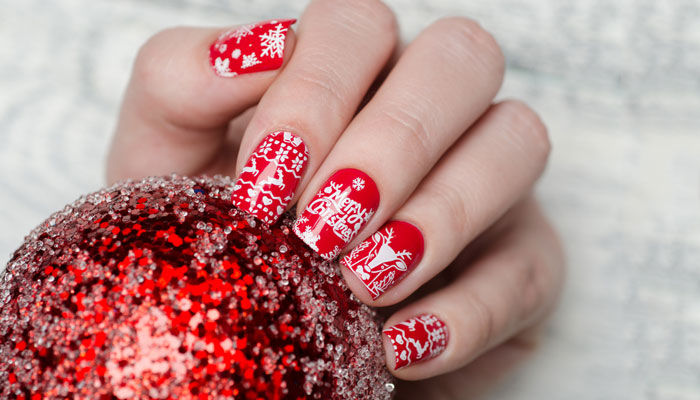
FROZEN!
Deck your nail with sparkles and glitter. This glittery nail is worth the try. It does look daunting, but trust us it is not as difficult as it looks.
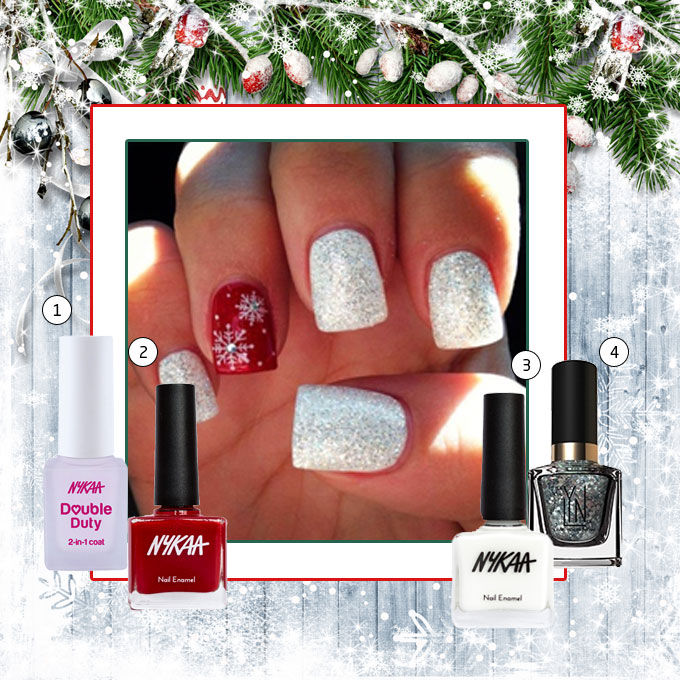
You will need:
Steps:
- Start by applying base coat to your nails.
- Paint all your nails white except your ring finger. Paint the ring finger red.
- Apply a silver simmer nail polish over all the white nails.
- Now create one or two snowflakes on your red nail depending on the size of your nail.
- Start your snowflake (using white nail polish) by painting on a simple X as big or as small as you’d like your snowflake to be. (Use a nail striper or a thin craft brush to do this.)
- Paint another, slightly smaller X that interlocks with the first.
- Add a few spiky details to each arm of the snowflake.
- Make small dots around the snowflakes and if you want add a rhinestone on the center of the snowflake.
- Seal in your design with a top coat
Read more about the best nail art ideas and nail care tips for all nail types: