In This Story:
If there’s one thing that instantly revives my face and my mood, it’s blush. Forget mascara or bronzer, a quick swipe of colour is my instant upgrade from tired to radiant. It’s not just makeup; it’s my built-in mood booster in compact form.
So imagine my surprise when one of my colleagues strolled into work looking like she had just stepped out of a snow-kissed Pinterest board, cheeks softly flushed, face subtly lifted, and that perfect “I just came back from a winter walk” glow. The secret? A W-shaped blush application. At first, I pretended not to care (or so I told myself), but when it started popping up on my FYP about a thousand times, I knew this wasn’t just another passing beauty trend. This was the it winter look.
While mascara and lipstick are non-negotiables for many, the true power of blush, with its lifting, brightening, and fatigue-erasing magic, often goes unnoticed. Properly placed blush can open up your eyes, lift your features, and make you look like you actually slept last night. And this season, the W-shaped blush technique is rewriting the blush rulebook. Here’s how to master it.
What Exactly Is The W-Shaped Blush Trend?
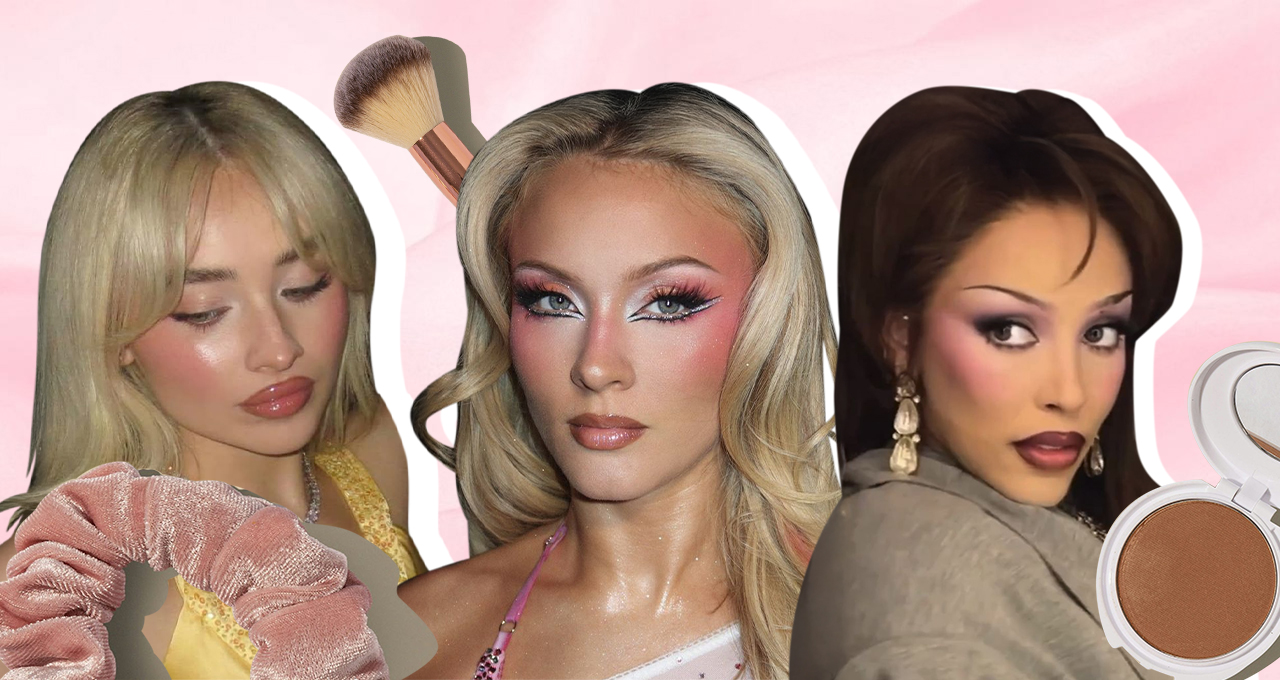
Think of it as contouring’s effortlessly cool little sister: less sculpted, more soft and romantic. The W-shaped blush technique gets its name from the pattern you draw when applying it: start at one cheekbone, sweep across the bridge of your nose, and end at the other cheekbone, forming a gentle “W” shape.
This application gives that dreamy, snow-blushed look, the kind of flush you get after a winter stroll or sipping mulled wine by the fire. But beyond looking adorable, it also helps lift the face subtly, connecting the cheeks and nose for a more harmonious, youthful effect. It’s giving “fresh from the Alps” energy, minus the frostbite.
The best part? It works across skin types and tones. Whether you’re using a cream blush for a dewy finish or a powder blush for a more matte look, the technique adapts beautifully. And yes, it photographs incredibly well.
How To Achieve The W-Shaped Blush Look
Step 1: Prep the Canvas
Start with your usual skincare routine; hydrated skin is the key to a smooth blush application. A lightweight foundation or tinted moisturiser will create an even base.
Nykaa Recommends:
Step 2: Choose Your Formula
For winter, cream or liquid blushes reign supreme. They melt into the skin and give that natural, second-skin glow. Powder blush can still work, especially for oily skin, but go easy to avoid a patchy finish.
Nykaa Recommends:
Step 3: Draw the “W”
Smile slightly (just enough to find the apples of your cheeks) and use your blush to draw a soft “W”, start from the top of one cheekbone, sweep it gently across the bridge of your nose, and finish on the other cheekbone. Think of where the sun or wind would naturally hit your face.
Step 4: Blend, Blend, Blend
Use your fingertips, a damp beauty sponge, or a fluffy brush to blend the blush seamlessly into your skin. The goal is a diffused, natural flush, not two pink streaks across your face.
Nykaa Recommends:
Step 5: Lock It In
For extra glow, tap a bit of highlighter on the tops of your cheekbones and a touch on your nose bridge. If you prefer a longer-lasting finish, lightly dust translucent powder around (not over) your blush area to keep everything in place.
Nykaa Recommends:
Key Takeaways
Here’s the thing: makeup trends come and go faster than the seasons change. But the W-shaped blush feels like it’s here to stay. So, the next time you’re getting ready on a chilly morning, skip the heavy contouring and go for a soft “W” sweep instead. Add a little shimmer on the inner corners of your eyes, a swipe of mascara, and a tinted lip balm and just like that, you’ve mastered the W for winter blush.
FAQs
-
Can I still contour or highlight when wearing W-shaped blush?
The W blush adds warmth and life to your face, but contouring and highlighting still have their place. Just apply your contour first to sculpt your cheekbones and follow with blush to blend and soften the edges. Add highlighter last for that lit-from-within glow.
-
What’s the best colour blush to use?
For winter, think rosy pinks, mauves, and soft berries, shades that mimic a natural cold-weather flush. Fairer skin tones can lean toward soft rose and peach, medium tones look radiant in mauve and plum, and deeper tones pop beautifully with berry or brick hues.
-
Won’t it make my nose look red or irritated?
The trick is to use a light hand on the nose area and blend outward. You want a gentle flush, not a Rudolph moment. A touch of powder or highlighter down the centre of your nose will balance everything perfectly.


