Switching to handmade soaps may seem a little extra, especially if your store-bought soap is working just fine. Now here’s a question for you. Why settle for just fine? Your body deserves more. Though we‘ll not blame you because you would not know what you’re missing out on until you experience the goodness of homemade soaps yourself.
So what’s the real draw here? The ability to customize your soap, as per your needs. If you choose to make your own homemade soap, think about how much you can play around with. You can add your choice of ingredients and stick to a formulation that works perfectly fine for your skin. Never thought of lathering up with a soap that’s specifically tailored for you, no?
So, read on to learn how to make soap at home.
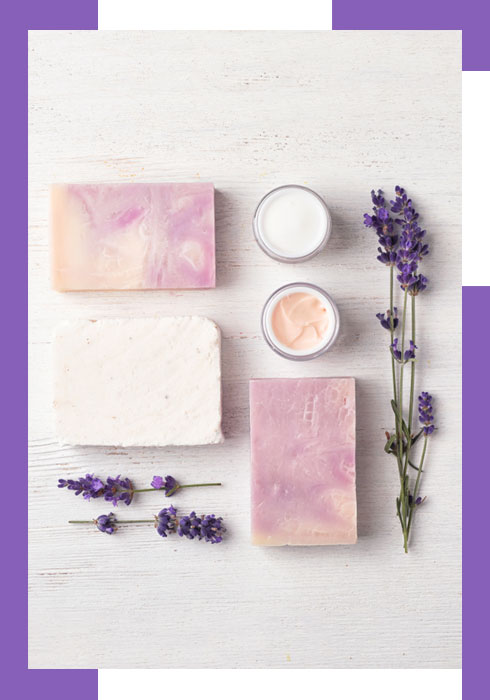
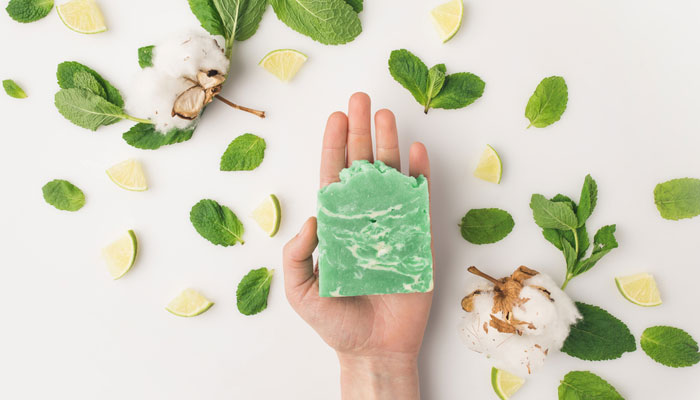
1. Organic Soap
How to make Organic soap
Step 1: Pour 1/4th cup of Lye into 1 cup of water and stir. When the water starts to clear, allow the mixture to sit.
Step 2: In a pint jar, add 2/3rd cups each of Coconut Oil, Olive Oil and Almond Oil and microwave it for a minute. Wait till the temperature of both the Lye and the oils is in the range of 95° to 105°.
Step 3: Next pour the oils into a bowl. Gradually add the Lye into the bowl and keep stirring. The mixture should lighten and turn thick.
Step 4: Add 5 drops of Lavender Essential Oil. Now pour the mixture into a mold and wrap it with a plastic sheet. Then set in a towel and wrap it up.
Step 5: After 24 hours, when the soap is cold and firm, cut it into bars. Expose these bars to air for 4 weeks.
Step 6: Once your soap is cured, wrap it in a wax paper and store in an airtight container.
Benefits of Organic soap
- Organic soaps are not just eco-friendly, they are loaded with antioxidants that are rejuvenating for your skin.
- They contain natural essential oils which are therapeutic and are free from preservatives and toxins.
- They have a pH level of 9 to 10 which makes them gentler on skin without altering its natural pH balance.
Nykaa Recommends: NapCare Organics Chamomile Soap, Rustic Art Organic Orange & Cinnamon Soap
2. Paper Soap
How to make Paper soap
Step 1: On a pan, place wax papers in a line.
Step 2: Now, in a glass bowl add small slices of your soap.
Step 3: Heat a pot of water. On the rim of the pot’s opening, place the glass bowl so that it sits comfortably. The soap will gradually melt because of the steam.
Step 4: Using a paper-thin film, coat the wax sheets with this melted soap. And wait for the soap to cool.
Step 5: Now peel the soap from the wax paper. Cut into smaller sheets to create a stack of paper soap.
Benefits of Paper soap
- Paper soaps are environmentally friendly as they dissolve in water after use.
- Paper soap guarantees a clean wash as it remains sealed inside the cover. This keeps the soap strip free from contamination.
- They are handy and convenient to use, which make them ideal for travel trips.
Nykaa Recommends: Bon Organics Paper Soap, La Flora Organics Handmade Paper Soap

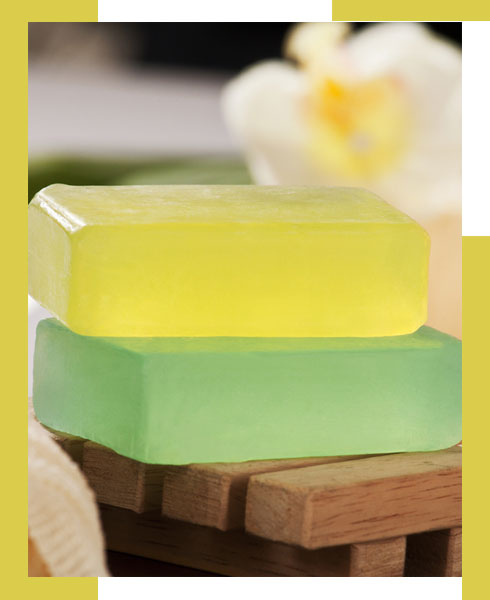
3. Glycerin Soap
How to make Glycerin soap
Step 1: Heat Glycerin in a bowl in the microwave and wait until it’s entirely melted.
Step 2: Now take a milk carton and coat its insides with Petroleum Jelly.
Step 3: Pour the melted Glycerin into the carton and let it cool for 2 hours. A Glycerin soap block would be formed.
Step 4: Now tear away the carton and pull out the soap block.
Step 6: Once your soap is cured, wrap it in a wax paper and store in an airtight container.
Benefits of Glycerin soap
- Compared to other soaps, Glycerin soap has lower pH value which means your skin can retain its natural moisture.
- It’s ideal for dry and sensitive skin as it does not strip skin of its moisture.
- As a humectant, Glycerin absorbs water from air and thus attracts moisture to your skin.
Nykaa Recommends: Doy Classic, Glycerin & Vitamin E Soap Bar, Soulflower Strawberry Pure Glycerin Soap
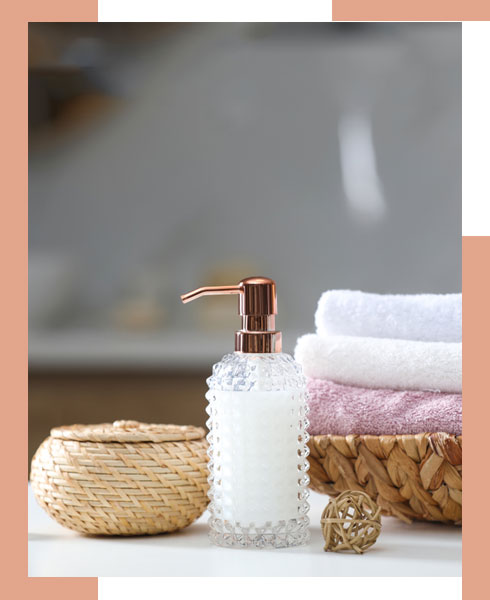
4. Liquid Soap
How to make Liquid soap
Step 1: Grate an anti-bacterial soap into a bowl.
Step 2: Add the soap flakes to a blender and pour a cup of boiled water into it. Blend until it takes on a paste-like consistency.
Step 3: Now add one tablespoon of Glycerin and 10 drops of Rosemary Essential Oil into the blender. Again blend until the ingredients are thoroughly mixed to create a soapy consistency.
Step 4: Leave the mixture to cool down for 10 minutes. Once it’s cooled, pour liquid soap into a pump bottle using a funnel.
Step 5: Shut the lid, shake and use.
Benefits of Liquid soap
- Liquid soap limits the exchange of germs between different users, unlike a soap bar.
- It usually comes in a pump bottle which means you can dispense the amount of soap you need without any wastage.
- Liquid soap generally lathers better than other soaps which makes it great for a thorough washing experience.
Nykaa Recommends: Dalan Therapy Liquid Hand Soap - Lavender & Thyme, L'Occitane Shea Butter Liquid Soap – Verbena
Precautions when preparing homemade soap
- When dealing with lye, always ensure you’re working in a ventilated place.
- Put on safety goggles, mask and wear gloves when adding lye to water container. This is to prevent touching the container with bare hands and breathing in the fumes.
- Keep a bottle of fresh Vinegar ready on the platform where you’re preparing soap. You’ll need generous amounts of it to counteract in case you spill lye over yourself.
- Avoid using the equipment or bowl used for soap making for any other purposes, especially cooking.
- Cover your work area or the platform where you’re preparing the soap with protective layers of newspaper or blankets.
- Never add water into the lye. Also, never mix lye in glass as the glass could explode. It is safer to use stainless steel or heavy duty plastic containers.
- Use pH strips to check if your soap has cured completely and attained the desired pH level. The typical pH for a handmade soap is 8.5. If your pH strip doesn’t reflect this value, it means it needs more time to cure.
FAQs on Natural Handmade soap
1. Is it safe to use lye in handmade soap?
Lye is a highly corrosive substance that can affect the skin, eyes, and respiratory system when it comes in contact. As a precaution, it is advised to wear safety goggles, masks and gloves to avoid contact with lye. As long as the homemade soap is prepared correctly, no lye is left in the final product, making it safe to use.
2. How long should a homemade soap be left to cure?
Freshly prepared soap should be left exposed to air for at least 4 weeks to cure and dry. This process is essential to reduce water volume in the soap and make it firmer.
3. Which natural handmade soaps are great for sensitive skin?
- Synaa Coconut Handmade Soap
- Callesta Lavender And Peppermint Handmade Soap
- Mantra Herbal Pitta Pacifier Sensitive Skin Lavender & Amrita Soap
- Morpheme Remedies White Tea & Ginger Handmade Soap
4. Is Khadi handmade soap good for skin?
Khadi handmade soap contains a blend of natural essential oils, vegetable oils, glycerin and other carrier oils. A mild bathing bar, infused with herbal extracts works well for all skin types.
Nykaa Recommends: Khadi Essentials SWARNIM Turmeric, Sandalwood & Lodhra Purifying Handmade Soap with Castor Butter, Khadi Natural Handmade Soap Collection